Webhook
In uContact, you can create both incoming and outgoing webhooks to integrate and automate communication between different applications. Webhooks allow you to send and receive data in real-time based on specific events.
How to Create a Webhook?
Creating a webhook in uContact is a straightforward process. Here's a step-by-step guide:
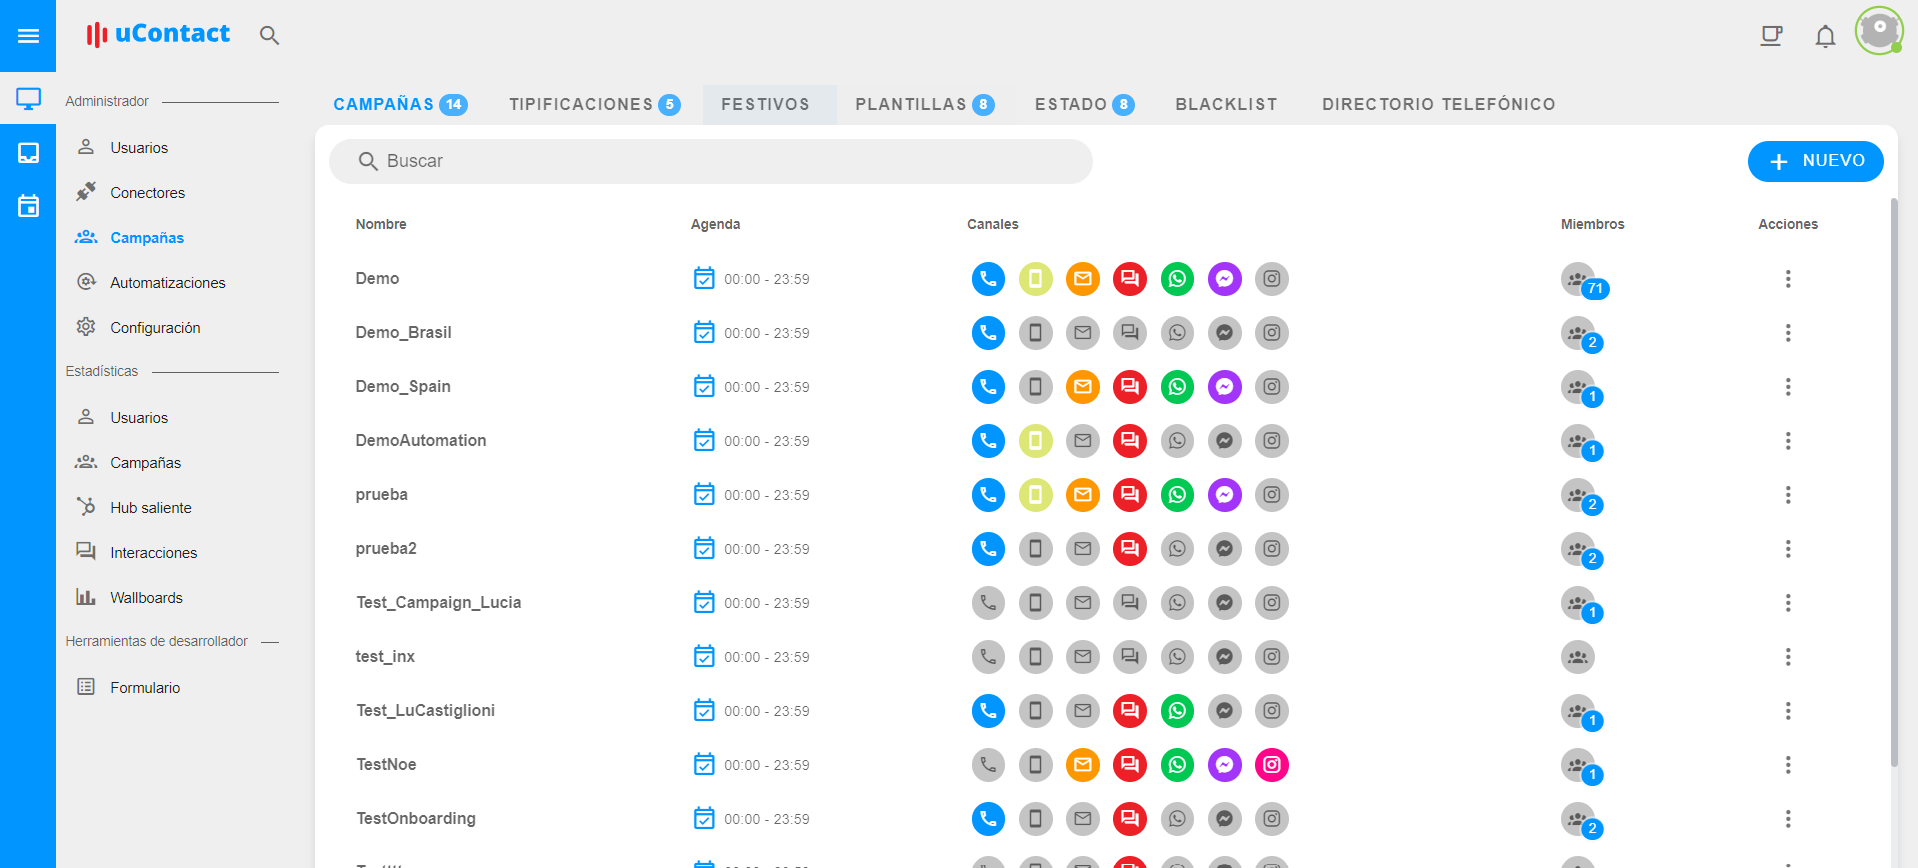
- Go to the Administrator menu, then to the Automations module, and select Webhook.

Within Webhook, click on the New button located in the upper right corner.
A pop-up will appear where you need to assign a name to the webhook for easy identification. Optionally, you can add a description to remember its purpose or important details.
Once you have filled in the required fields, click the "Save" button to create the webhook.
After creating the webhook, it will appear in the list of webhooks. Click on the name of the webhook you just created to configure it.
The uContact Flow Designer will open, where you can design and configure your webhook according to your specific needs. Here, you can define how uContact will handle the received data or what actions it will perform when the webhook is triggered.
Haven't Used the Flow Designer Yet?
If you're not yet familiar with the uContact Flow Designer, don't worry. This designer allows you to create and manage automated workflows visually. You can learn how to use it by visiting the complete documentation here. This will help you get started with creating your own custom flows to integrate and automate processes using webhooks.
With these steps, you'll be able to efficiently and flexibly integrate and automate communication between uContact and other applications using webhooks tailored to your business needs.
