 Hubs de Telefonía
 Hubs de Telefonía
Los hubs de telefonía son los más utilizados y permiten la generación de llamadas automáticas para que los agentes no tengan que llamar manualmente. Existen diferentes tipos y cada uno se utiliza dependiendo del número de agentes, el objetivo de las llamadas y otros factores.
Preview
Este tipo permite tener un agente asociado a cada contacto en la lista. Los agentes tendrán contactos asociados y las llamadas realizadas por el Hub Saliente serán atendidas únicamente por el agente asociado a la lista.
Predictive
Este tipo cuenta con un algoritmo que utiliza los parámetros configurados en el hub, diferentes factores y estrategias estadísticas para hacer que las llamadas sean más efectivas disminuyendo la tasa de abandono.
Voicebroadcast
Este tipo realiza llamadas sin necesidad de tener agentes. El hub llama a los contactos y reproduce uno o más audios al cliente, con la posibilidad de transferir a un IVR o similar.
¿Cómo configurar un Hub de Telefonía?
Configurar un nuevo Hub de Telefonía es realmente fácil, requiere una configuración simple.
Requerimientos
- Tener una campaña creada.
- Tener configurado el canal a utilizar en el Hub para poder realizar llamadas salientes.
 Básico
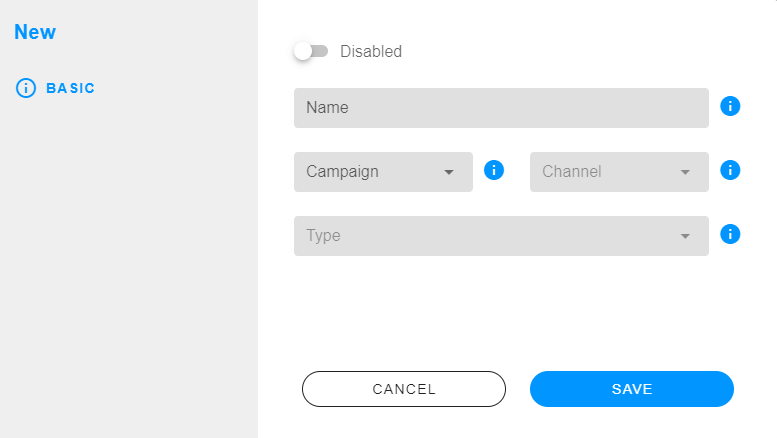
- Nombre: es el nombre del Hub Saliente.
- Campaña: you have to select the campaign assigned to the Outbound Hub.
Los conectores y números utilizados para este Hub Saliente son de la campaña seleccionada.
- Channel: you have to select the channel to be used by the Outbound Hub.
- Type: you have to select the type to use in the Outbound Hub.
 Configuración
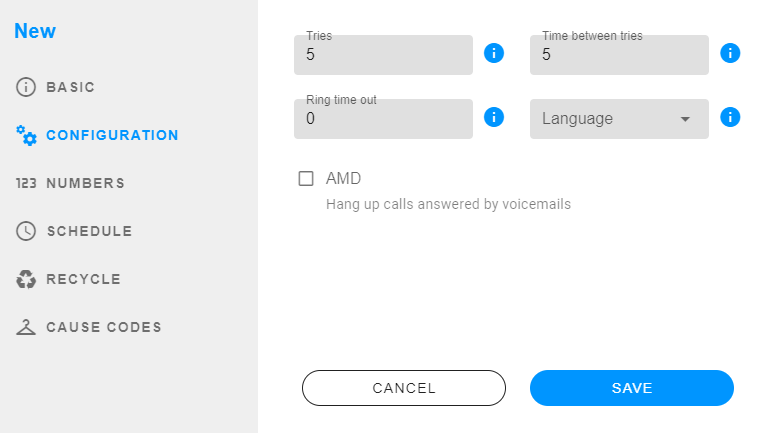
- Tries: is the maximum number of calls to try to connect the contact with the agent.
- Time between tries: is the time between each tries of each contact.
- Channels per agent: is the number of calls that the Outbound Hub will make for each agent.
- Ring time out: Description
- Language: is the language for the audios.
- AMD: if you checked, the Outbound Hub will hang up calls answered by voicemails without sending them to the ACD.
 Números
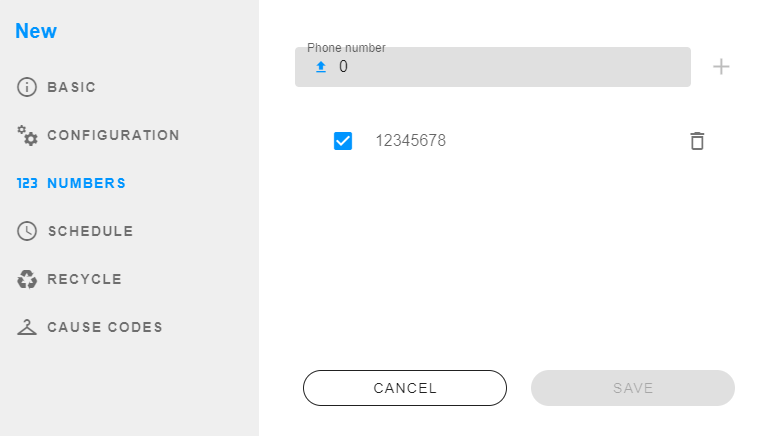
- Phone number: add the DIDs for the Outbound Hub.
 Agenda
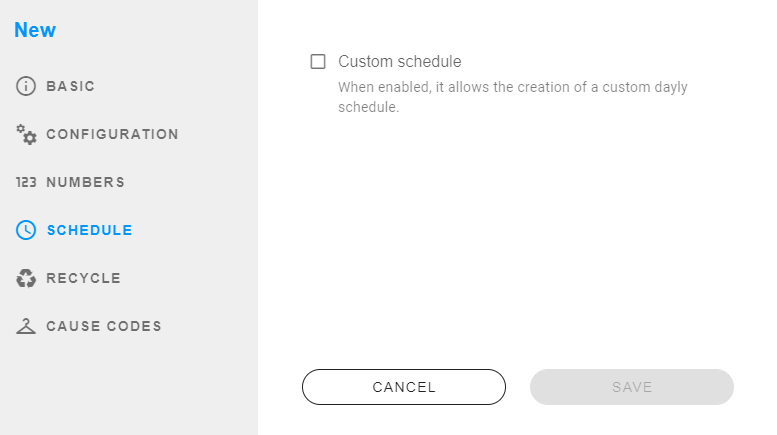
- Custom schedule: if you checked, you can select the schedule for the Outbound Hub, else the time will be 24hs.
 Reciclaje
- Cycles: Description
 Cause codes
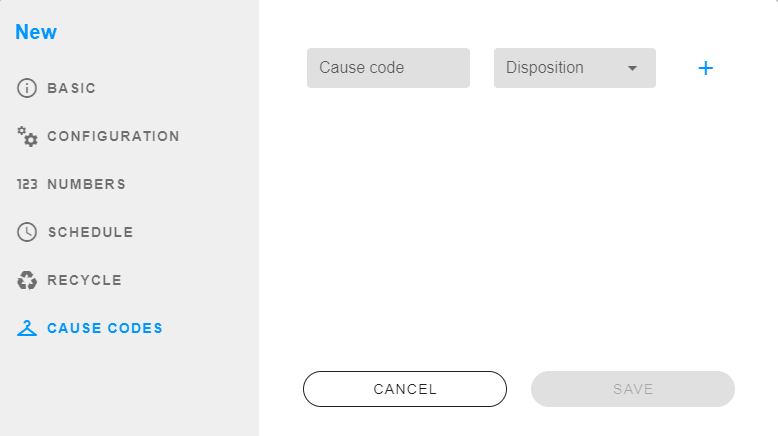
- Cause code: is the cause code number.
- Disposition: select the disposition for the cause code.
Uploading a list
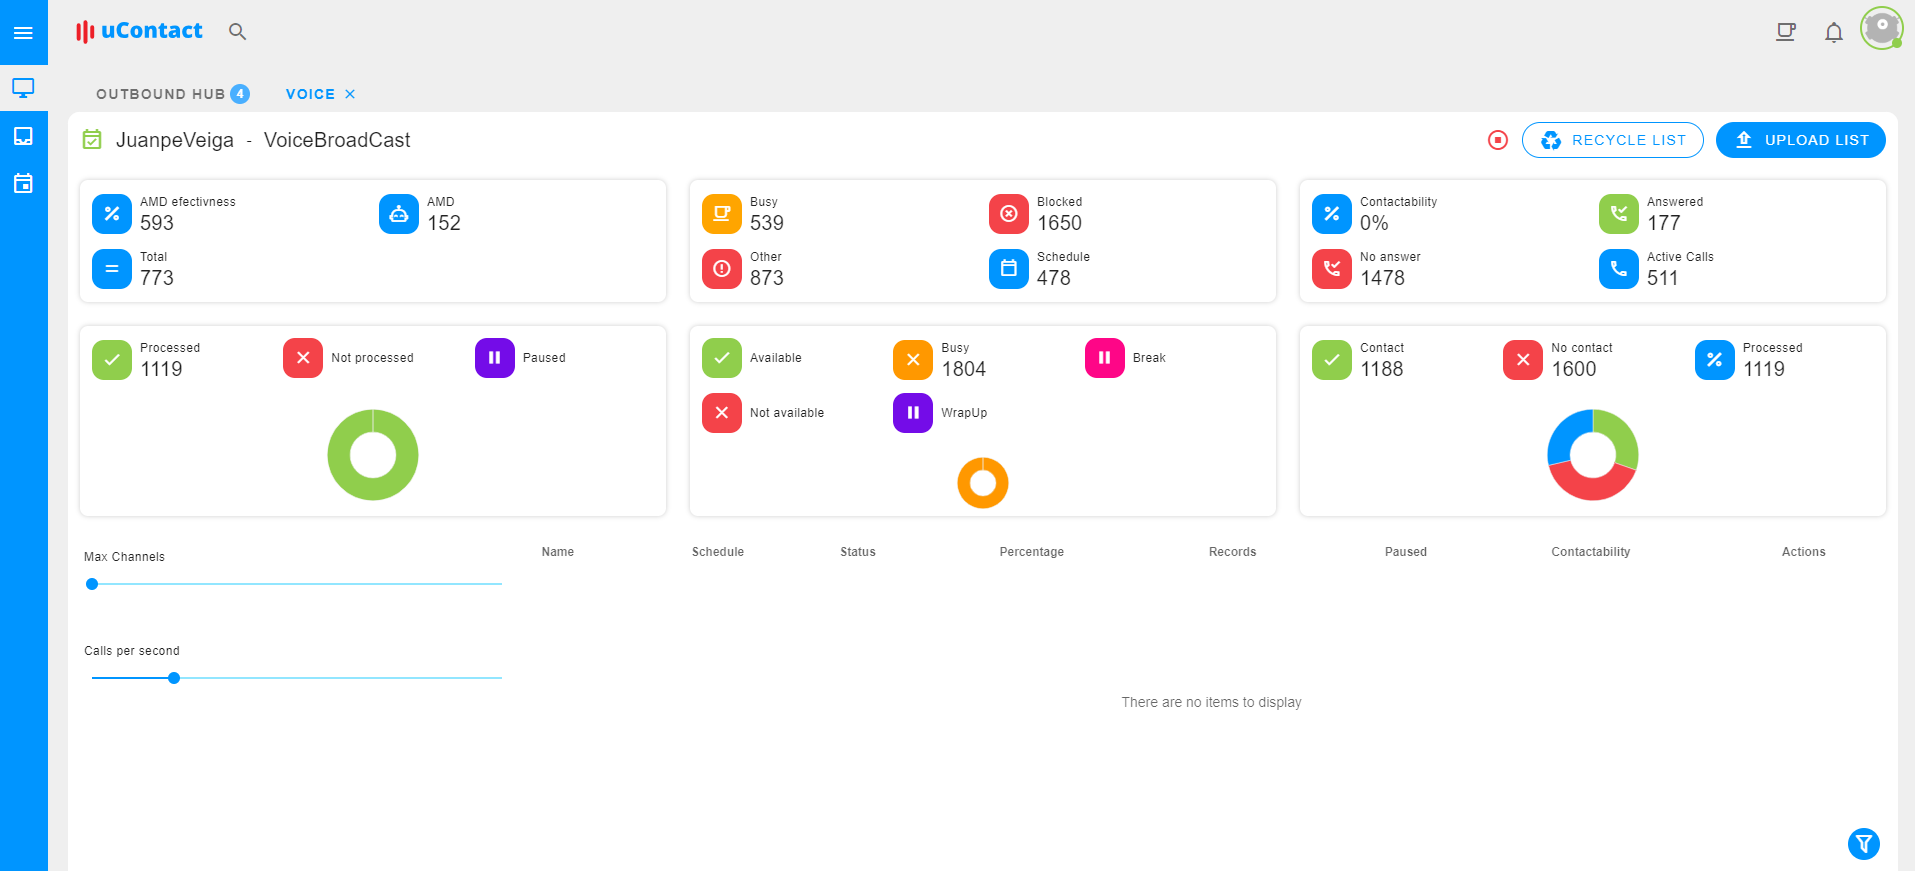
To upload a list, you must head to Analytics > Outbound Hub and select an Outbound Hub to upload a new list. Once you select the Hub, you must click over the Upload List button located in the top right corner.
To upload a new list, 3 simple steps are required. Below is an explanation of each one.
Labels
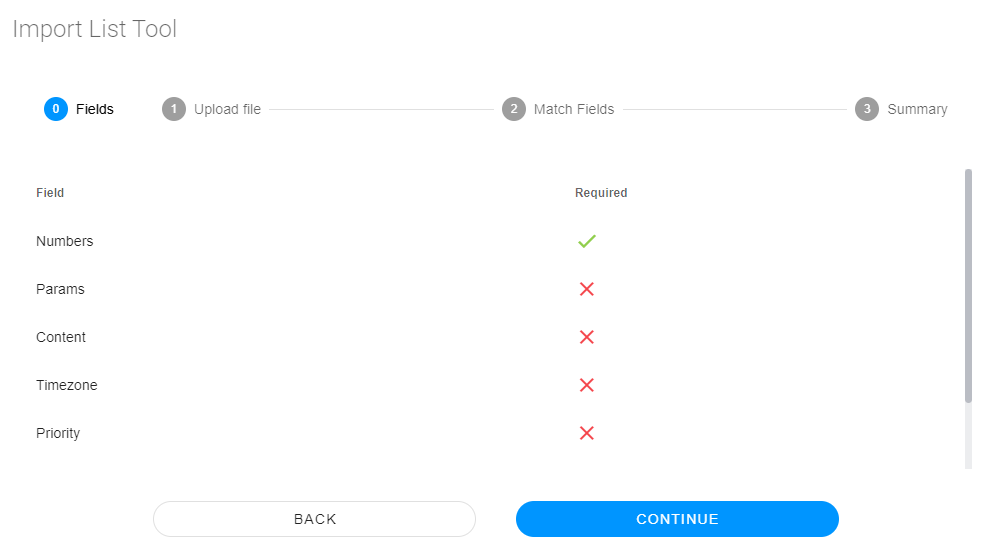
When we click over the button to upload a new list, a pop-up will be openend. Here, we can see the fields that you have use and if are required or not.
| Field | Description |
|---|---|
| ** Numbers ** | Is necessary to include at least one number to call. |
| ** Params ** | You can include custom params to use in forms. |
| ** Content ** | For this hub is not necessary. |
| ** Timezone ** | If you want to include a custom timezone for the contact. You must add the timezone with the format Continent/City or Country, for example: Uruguay/Montevideo. |
| ** Priority ** | You can include the priority of the contact. |
| ** Contact id ** | You can also include a contact id to use in forms. |
| ** Agent phone ** | If you are using a preview hub you must include the agent phone in the list |
Paso 1 - Upload file
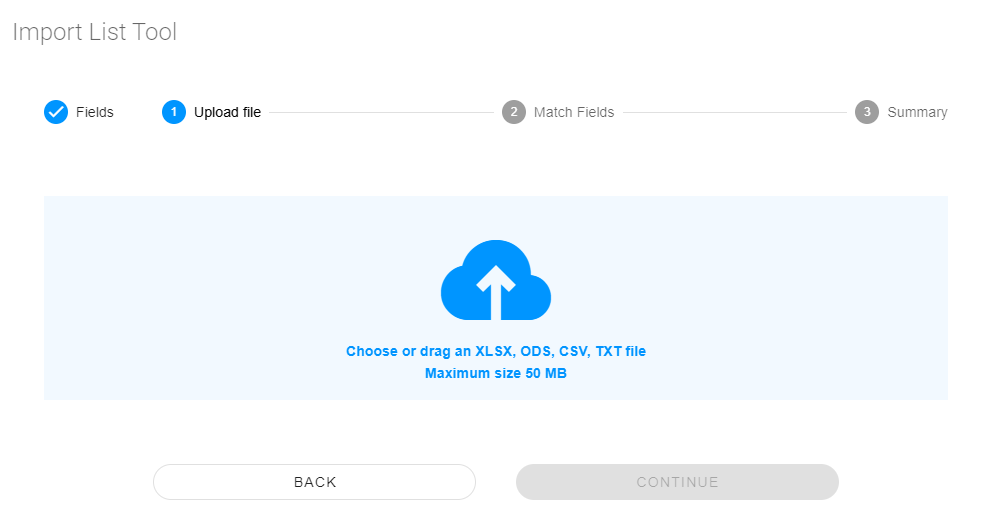
Here you have to choose or drag the list from your computer. You can optionally add the headers.
File must to be XLSX, ODS, CSV or TXT. The maximum size of the file is 50MB.
Paso 2 - Match fields
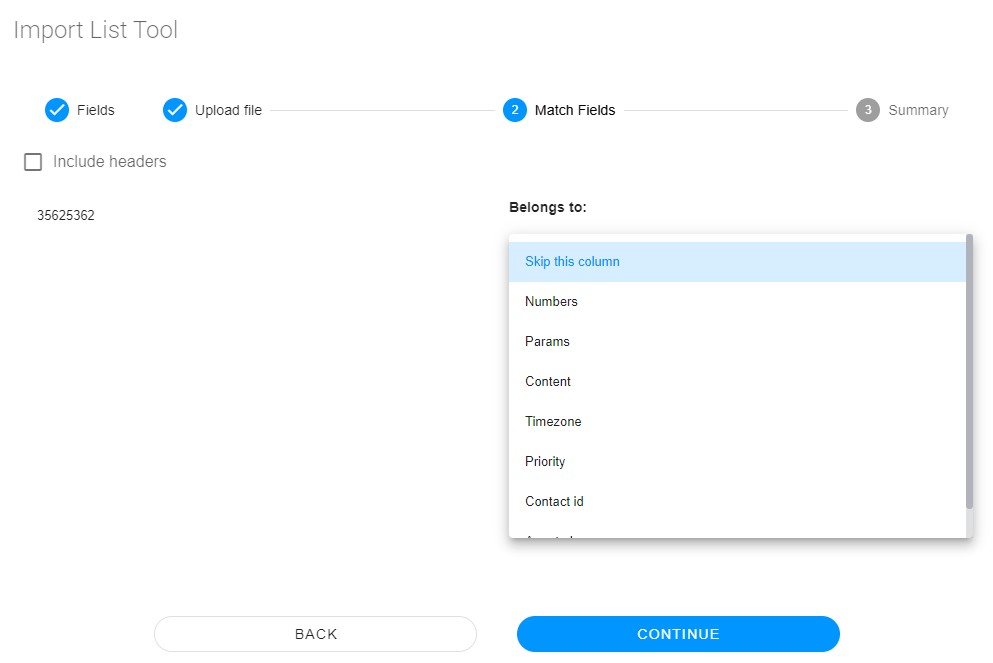
Here we have to match the fields with the information of the list. If you added the headers in your list, you have to checked the "Include headers" option.
To match the fields, we have 2 columns. On the left we have the first row of our file and on the right a selection to match the information with the label.
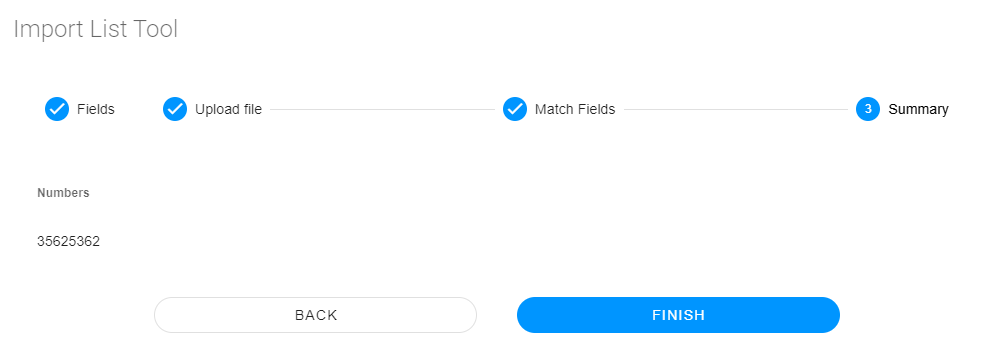
Paso 3 - Summary
